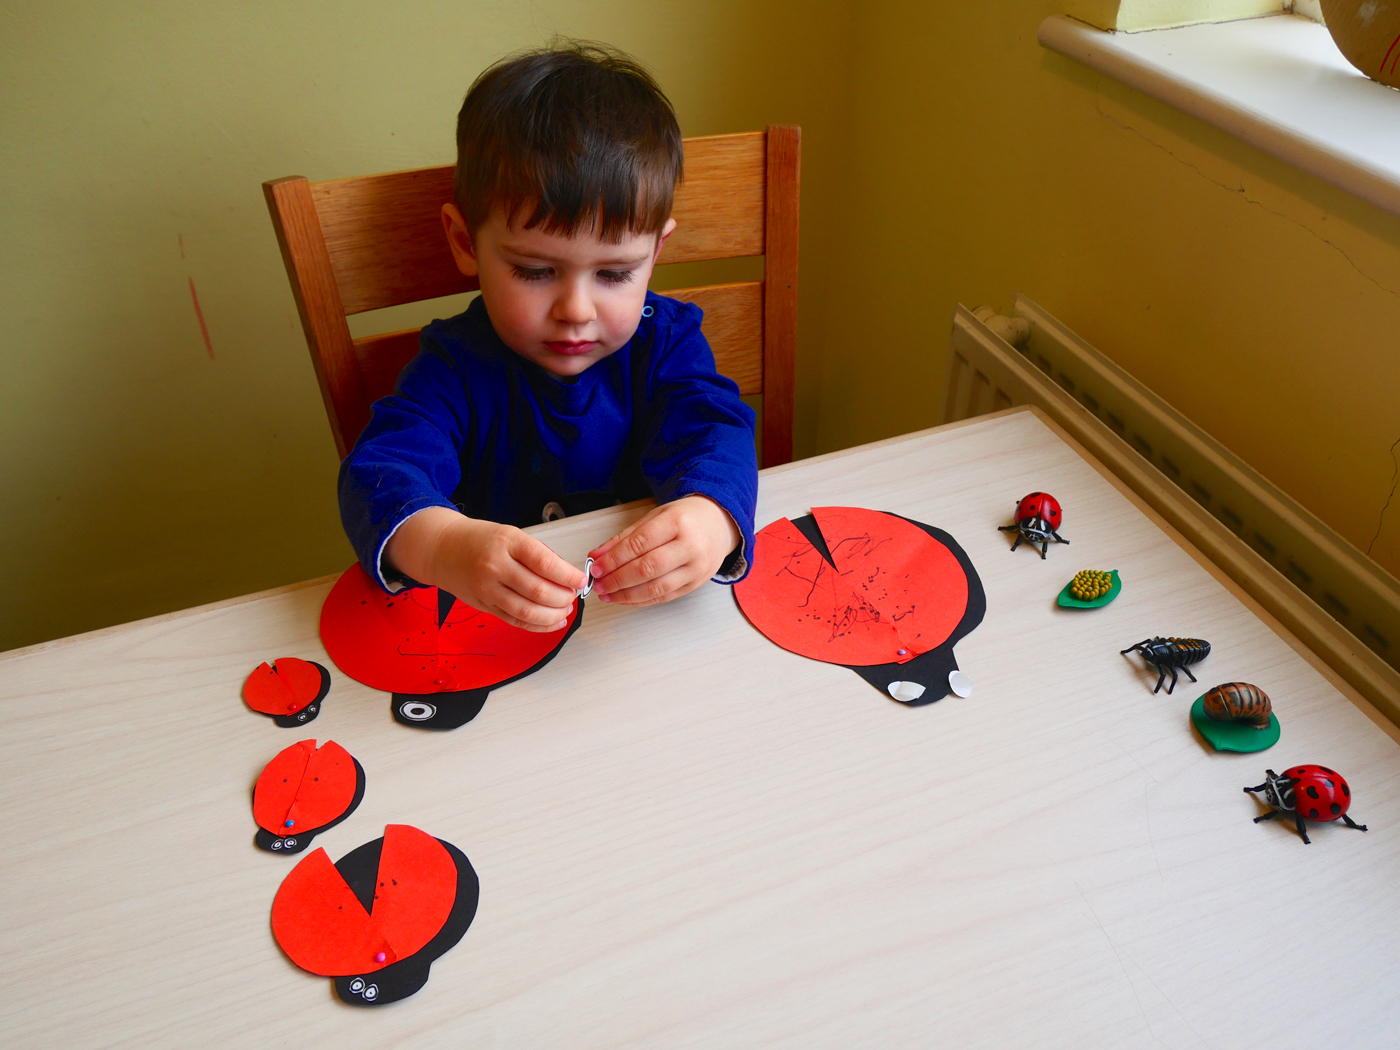
Cian is obsessed with ladybirds, he is an expert at finding them and will happily sit with a ladybird wandering over him for ages. Finny decided that Cian would enjoy doing a ladybird craft and then playing with the ladybirds afterwards, without worrying about injuring a real ladybird.
Resources
- Insect Lore ladybird life cycle figurines
- Black paper
- Red paper
- Saucer to draw around
- Pencil
- Toddler scissors
- Split pins
Method
Preparing the ladybirds
Finny briefly explained the ladybird life cycle and how Cian doesn’t quite get the names of the ladybird larva and pupa right. Then he started making his prototype, by drawing around a saucer on some black paper.
He added a head for the ladybird, then cut the body of the ladybird out.
Finny drew around the saucer again, this time on some red paper. This was to make the wing cases for the ladybird. Ladybirds have long, transparent wings that they fold under their bright, spotted wing cases, or elytra, when they’re not in use


He folded his circle in half, then cut along the fold to give him two wing cases.
Finny made a small hole at the top of each wing case, using his split pin.
He pushed the same split pin through both his wing cases
Ioan (7 years old) wandered in and decided he wanted to have a go making some ladybirds too. He wanted his ladybirds to be smaller, so chose a carrot container to draw around instead.
Ioan and Finny happily worked alongside each other, getting ready to invite Cian in to see his ladybirds.


Decorating the ladybirds
When Finny called him in, the first thing Cian spotted was the ladybird life cycle. He pointed all the stages out, calling his ladybird larva a “ladybird ant” and his ladybird pupa, “ladybird Peter” as Finny had predicted.
He put the ladybirds that Finny had prepared for him, in to size order. As usual, he called them Mummy, Daddy, Ioan, Finn and Cici.
Mummy Ladybird was the first to get some decoration. When children make early marks, they are refining their fine motor skills and helping to develop their hand-eye coordination. There is more information about this in the post ‘Toddler Mark Making‘.


As Cian moved on to Daddy Ladybird, he happily told us, “All spotty. All of them!”
I cut the wing cases down the middle, leaving about the last 3cm for him to finish off cutting. For the first ladybird, I positioned the scissors in his right hand. Cian (2years and 5months) just had to line up the paper in the right position and snip it, but that alone can take a while at this age.
Cian doesn’t seem to have a dominant hand yet, often swapping between the two. He knew he had to pick up the scissors with his thumb and middle finger, but often held the scissors upside down, with his thumb facing down rather than up. This was just a chance to figure things out for himself, so if he ended up tearing the paper with the scissors, rather than cutting it, then it really didn’t matter.
Cian tested out the ladybirds’ new flapping wings on his first flight, but the maiden voyage wore him out.
Ladybird eyes
A few hours (and three haircuts!) later, Cian was ready to stick some eyes on his ladybird. Ioan had drawn the eyes on some sticky labels for him already, but was keen to point out that ladybirds eyes don’t look like this at all. He set to work labelling a diagram of the ladybird anatomy to make sure we all understood.
Ladybirds have a compound eye structure on the side of their head, that sees in shades of black and white. It looks like two dark eyes. They are not able to see any colour at all, which is the reason why ladybirds are more attracted to light-coloured flowers when they hunt for food. Their antennas are what helps them feel, smell, and taste their surroundings.
However, Cian wanted ladybird eyes like the ones on his top, so that’s what we did. Cici had to peel the back off the sticky label, then stick the eyes in position. He worked up through the sizes from smallest to largest.


Finally, Daddy Ladybird got his eyes.
Cian made sure his ladybird eyes were stuck down firmly. When Finny asked him where he would like a ladybird to land, he pointed to his head.


The next morning, his wish came true when a ladybird landed on Cian. It started on his shoulder, then flew up to his nose. Finny was convinced that it had visited because of the ladybird craft they had done.
DfES Outcomes for EYFS (2013)
Physical Development
Moving and handling (16 to 26 months)
- Makes connections between their movement and the marks they make.
Moving and handling (22 to 36 months)
- Beginning to use three fingers (tripod grip) to hold writing tools.
- Imitates drawing simple shapes such as circles and lines.
Moving and handling (30 to 50 months)
- Draws lines and circles using gross motor movements.
- Uses one-handed tools and equipment, e.g. makes snips in paper with child scissors.
Understanding the world
The world (8 to 20 months)
- Closely observes what animals, people and vehicles do.
The world (22 to 36 months)
- Enjoys playing with small-world models such as a farm, a garage, or a train track.
- Notices detailed features of objects in their environment.
The world (30 to 50 months)
- Can talk about some of the things they have observed such as plants, animals, natural and found objects.
- Talks about why things happen and how things work.
- Developing an understanding of growth and changes over time.
- Shows care and concern for living things and the environment.


