Even at 18 months old, Cian knows what an adult ladybird looks like. But Ioan and Finny wanted to know what a baby ladybird looks like and how they develop. Following on from setting up our Ladybird World, we started to observe the development and metamorphosis of our larvae.
Resources
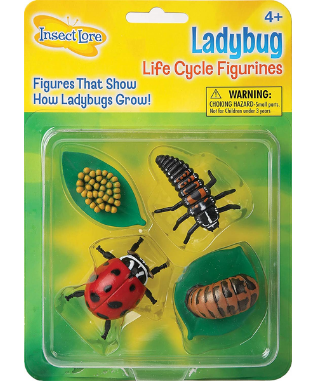
- Insect Lore ladybird life cycle figurines
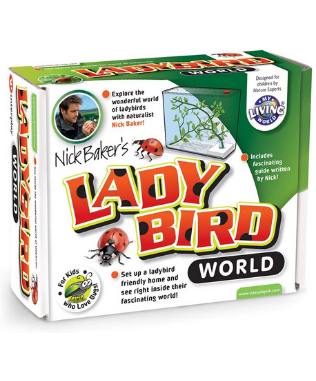
- Ladybird World – includes tools for handling ladybirds
- Ladybird Kit refill
Method
Day 5 – Growing larvae
By Day 5, our larvae had overtaken the aphids in size.
Ioan explained that the black dots were where the larvae had shed their skin.
Cleaning the visualarium
At least every two days we had to clean out the tank, or ‘visualarium’. This is because damp and dirty conditions lead to mould and disease for the larvae. Due to the wet weather, our nettle leaves were often damp when we were putting them in, so sometimes we had to clean it out every day.
We put the larva in to our observing pots, while we removed any plant material and changed the liner. Before discarding the nettles and liner, we always had to check carefully to see if there were any larvae or beetles in amongst them. We then washed the visualarium with soapy water and dried it, before replacing the larvae along with some fresh food.


A few days in and they still get excited when they spot one of the larvae eating a greenfly.
Many species of ladybird will turn on their brothers and sisters and eat them, especially if they are too crowded or there are not enough aphids supplied. To prevent this from happening, we released some of our larvae in to the wild.


Day 12 – Turning in to pupae
The larvae were going through aphids very quickly, so we had to go out and collect a lot more leaves to fill their appetite. As a guide it will take 7-15 aphids a day to satisfy a two-spot ladybird, but a seven-spot will need double that amount.


This sounds like a lot of aphids, but they normally live in big colonies. If you have difficulty finding aphids, as we did setting up our Ladybird World after days of rain, you can always feed your ladybirds a few drops of sugar or honey water as a stop-gap.
In the video below, you can see the ladybird larva (in the bottom third of the screen, near the centre) eating an aphid.
Finny had previously explained the life cycle of a ladybird and Ioan had sketched life cycles and done a small world tray on metamorphosis. The boys recapped their knowledge of the developmental stages, because today was the very exciting day that our ladybird larvae started turning in to pupae.
What are pupae?
Eventually, the larvae can eat no more and appear to stop moving. They will hunch their backs and attach themselves to a leaf, or to the paper we had folded in a concertina fold, when setting up our Ladybird World. In a day or so, the skin will split and ruck up, leaving the pupa.
Just like with butterflies, inside the pupa the ladybird larva is rebuilding itself into an adult beetle, through the process of metamorphosis. The pupa stage can last over two weeks if the temperature is cool, or just a few days if it is warm.


Day 19 – Emerging as ladybirds
When the ladybird is ready, the pupa splits down the middle of its back and out crawls a floppy, pale ladybird. After a few hours, the ladybird’s wing cases slowly begin to harden and the red and black markings begin to appear. The colouring process continues for the rest of the ladybird’s life and the older the beetle is, the deeper and darker red the wing cases are.
This was the day that our ladybirds emerged. Ladybirds belong to the family of beetles called Coccinellidae, which means ‘dressed in red’. There are 47 species in the UK and of these around 26 types are easily recognisable as ladybirds, being brightly coloured and spotty.
At this stage we had one red two-spot ladybird and two black harlequin ladybirds.
The harlequin ladybird enjoyed walking around the rim of our ladybird world.
Harlequin ladybirds prey on two-spot ladybirds, so, we only observed them for a short while before we set them free. We then waited for a couple more days, for some more of our ladybirds to hatch, before releasing them too.
DfES Early Learning Goals (2017)
Understanding the world
ELG 14 – The world:
Children know about similarities and differences in relation to places, objects, materials and living things. They talk about the features of their own immediate environment and how environments might vary from one another. They make observations of animals and plants and explain why some things occur, and talk about changes.
DfES Outcomes for EYFS and National Curriculum (2013)
Science Year 1 programme of study
Animals, including humans
- identify and name a variety of common animals including fish, amphibians, reptiles, birds and mammals
Science Year 2 programme of study
Living things and their habitats
- identify that most living things live in habitats to which they are suited and describe how different habitats provide for the basic needs of different kinds of animals and plants, and how they depend on each other
- identify and name a variety of plants and animals in their habitats, including micro-habitats