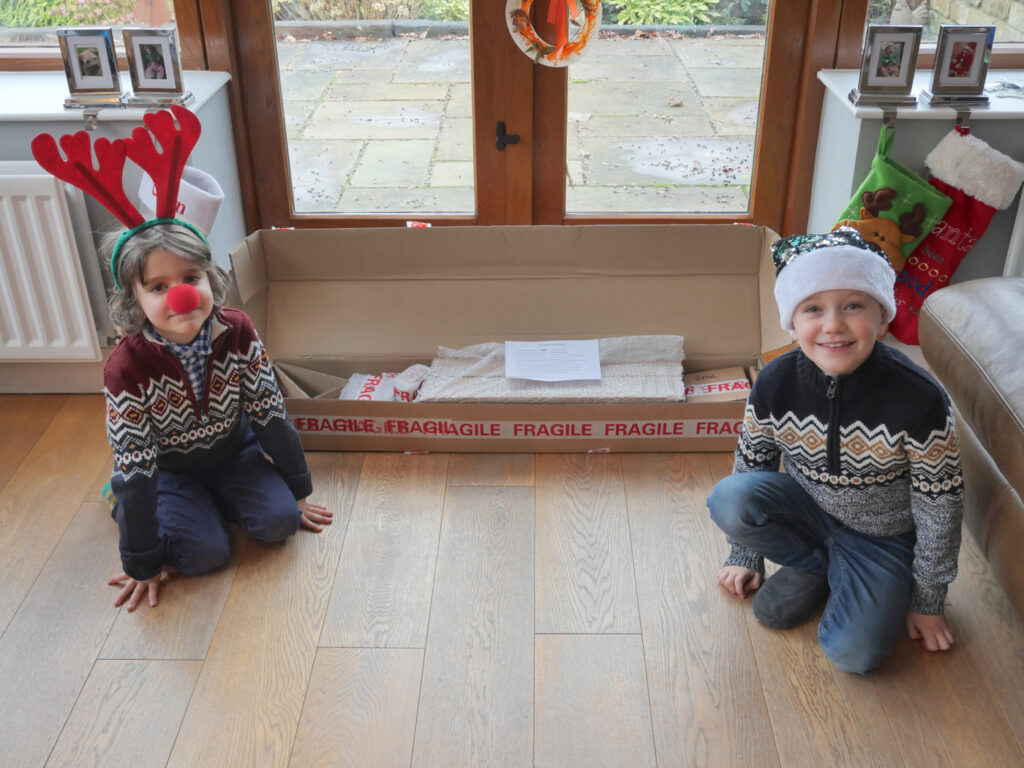
Our old Christmas tree didn’t fit in our new house without blocking a door, so we decided to donate that and get a smaller one that could stand on the window ledge.
We knew we wanted to get a sustainable one, but also wanted one that we could keep forever. When we saw this one we fell in love. The fact it needed assembling made it even more exciting.


Step 1: Keep the five different colours of wood ‘branches’ separate


Step 2: Take the base and place onto a solid floor with the hole facing upwards.
Step 3: Take the steel pole and insert it into the hole with the end which has the white dots around it.


Tap the steel pole with a mallet until the pole goes as far as the white dots.


They took it in turns to tap the pole in.


Step 4: Now you can fit the four metal stabilising legs (which are marked 1, 2, 3 and 4) and screw into the wooden base, in the pre-drilled holes, with the screws supplied.
Ioan screwed the first leg on.


Then Finny screw on the second.


Step 5: Next, place the wooden tree stem onto the steel pole and slide it down to the bottom.


Step 6: Open the wooden tree branches and place them in order from the largest to the smallest.


They repeated the process for the different colours of wood.


As always, Finny looked at the step shapes he made and was able to visualise that he could combine them to make a square.


He then went on to make two rectangles and a double step shape.


Step 7: You can start to feed the wooden tree branches on to the steel pole (largest first) and slide down to the bottom starting with No.1 Jacobean, No.2 Rustic Pine, No.3 Walnut, No.4 Honey & No.5 Teak.


They kept layering up the branches in fives.


Then they sped up the process, shouting the numbers of the coloured wood to keep track.
Finally, the bit of construction that they were most looking forward to, twisting the branches round.


Step 8: Finish with the star on top and it’s complete.
They saved the final step for Cian, who placed the star on top and sand us “Twinkle Twinkle Christmas Star.”


DfES Outcomes for EYFS and National Curriculum (2013)
Art and Design Key Stage 2 programme of study
Make
- select from and use a wider range of tools and equipment to perform practical tasks accurately


